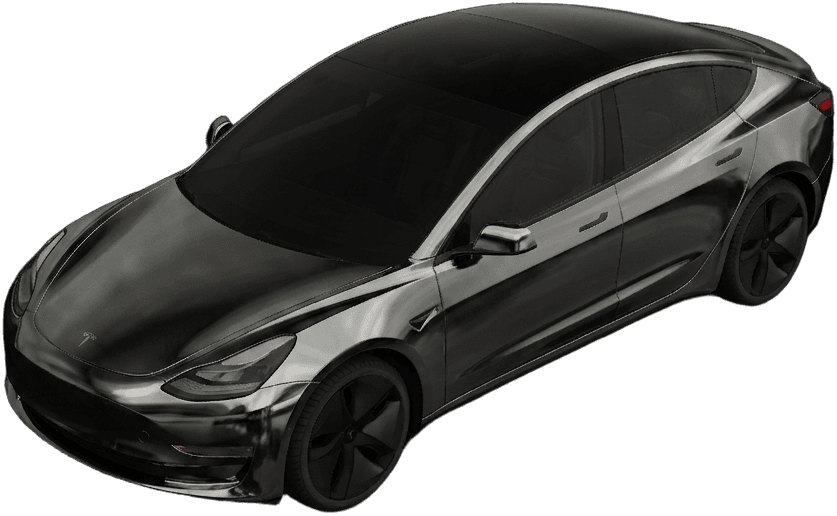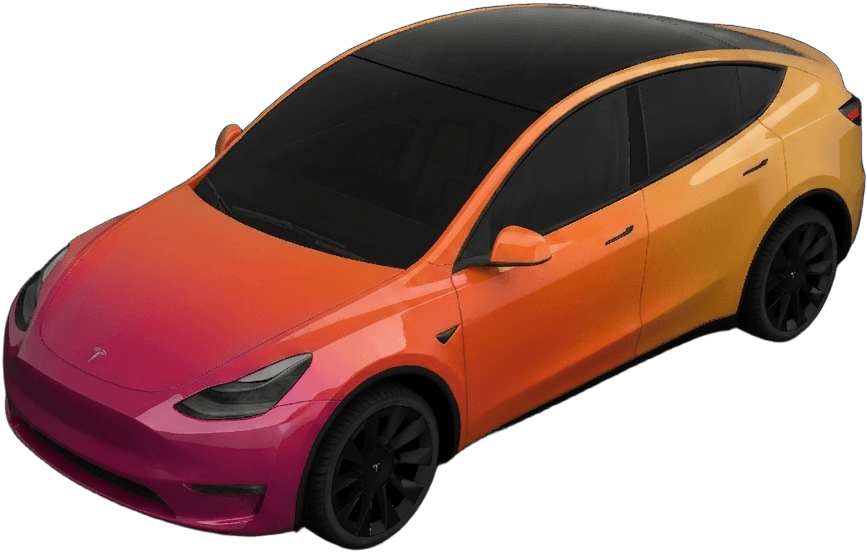
Short answer: the refreshed Model Y changed the front and rear lighting, the bumpers and some trim. For a printed wrap your installer handles the fitment, so it barely matters. For a design it matters a lot, because the template is different and a layout drawn for the older car puts your graphics in the wrong place at both ends.
This trips people up constantly, and the reason is that the cars look similar in profile. From the side, the two generations are close enough that you can convince yourself a design will carry over. From the front and the back, they are not the same car.
What actually changed, from a wrap's point of view
Ignore the interior and the range figures. Only four things change how a wrap behaves.
The full-width front light bar. A continuous lit strip across the nose is now a hard horizontal line through the front of the vehicle. It visually cuts the nose into an upper and a lower half.
The rear lighting treatment. Similar story at the back — the tail lighting no longer sits as two separate blocks framed by bodywork in the way it used to, which changes what the rear quarter panels are framing.
New bumper shapes. Different surfaces, different edges, different places where film has to terminate. This is invisible in a design and very visible on a template.
Trim details. Small, but they move where a wrap starts and stops along the lower body.
Everything in the middle of the vehicle — doors, roof, glass area, rear quarters — is close enough that a design's feel carries across. It is the ends that break.
Why the template is genuinely different
Every vehicle has its own UV template: a flattened map of the body where each region corresponds to a panel. Change the bumpers and the lighting and you change the shape of those regions.
So a design laid out for the earlier car does not degrade gracefully on the refreshed one. It maps into the wrong places specifically at the nose and tail, which is exactly where people put their most deliberate design decisions — where a gradient begins, where a livery terminates, where an accent colour wraps around. The middle looks fine and the ends look wrong, which is a particularly annoying failure because it looks like a design problem rather than a template problem.
If you want the mechanism behind this rather than just the consequence, our visualizer guide explains how UV mapping works and why flattening distorts.
Pick the exact variant, not the nearest one
This is the single highest-value piece of advice on this page.
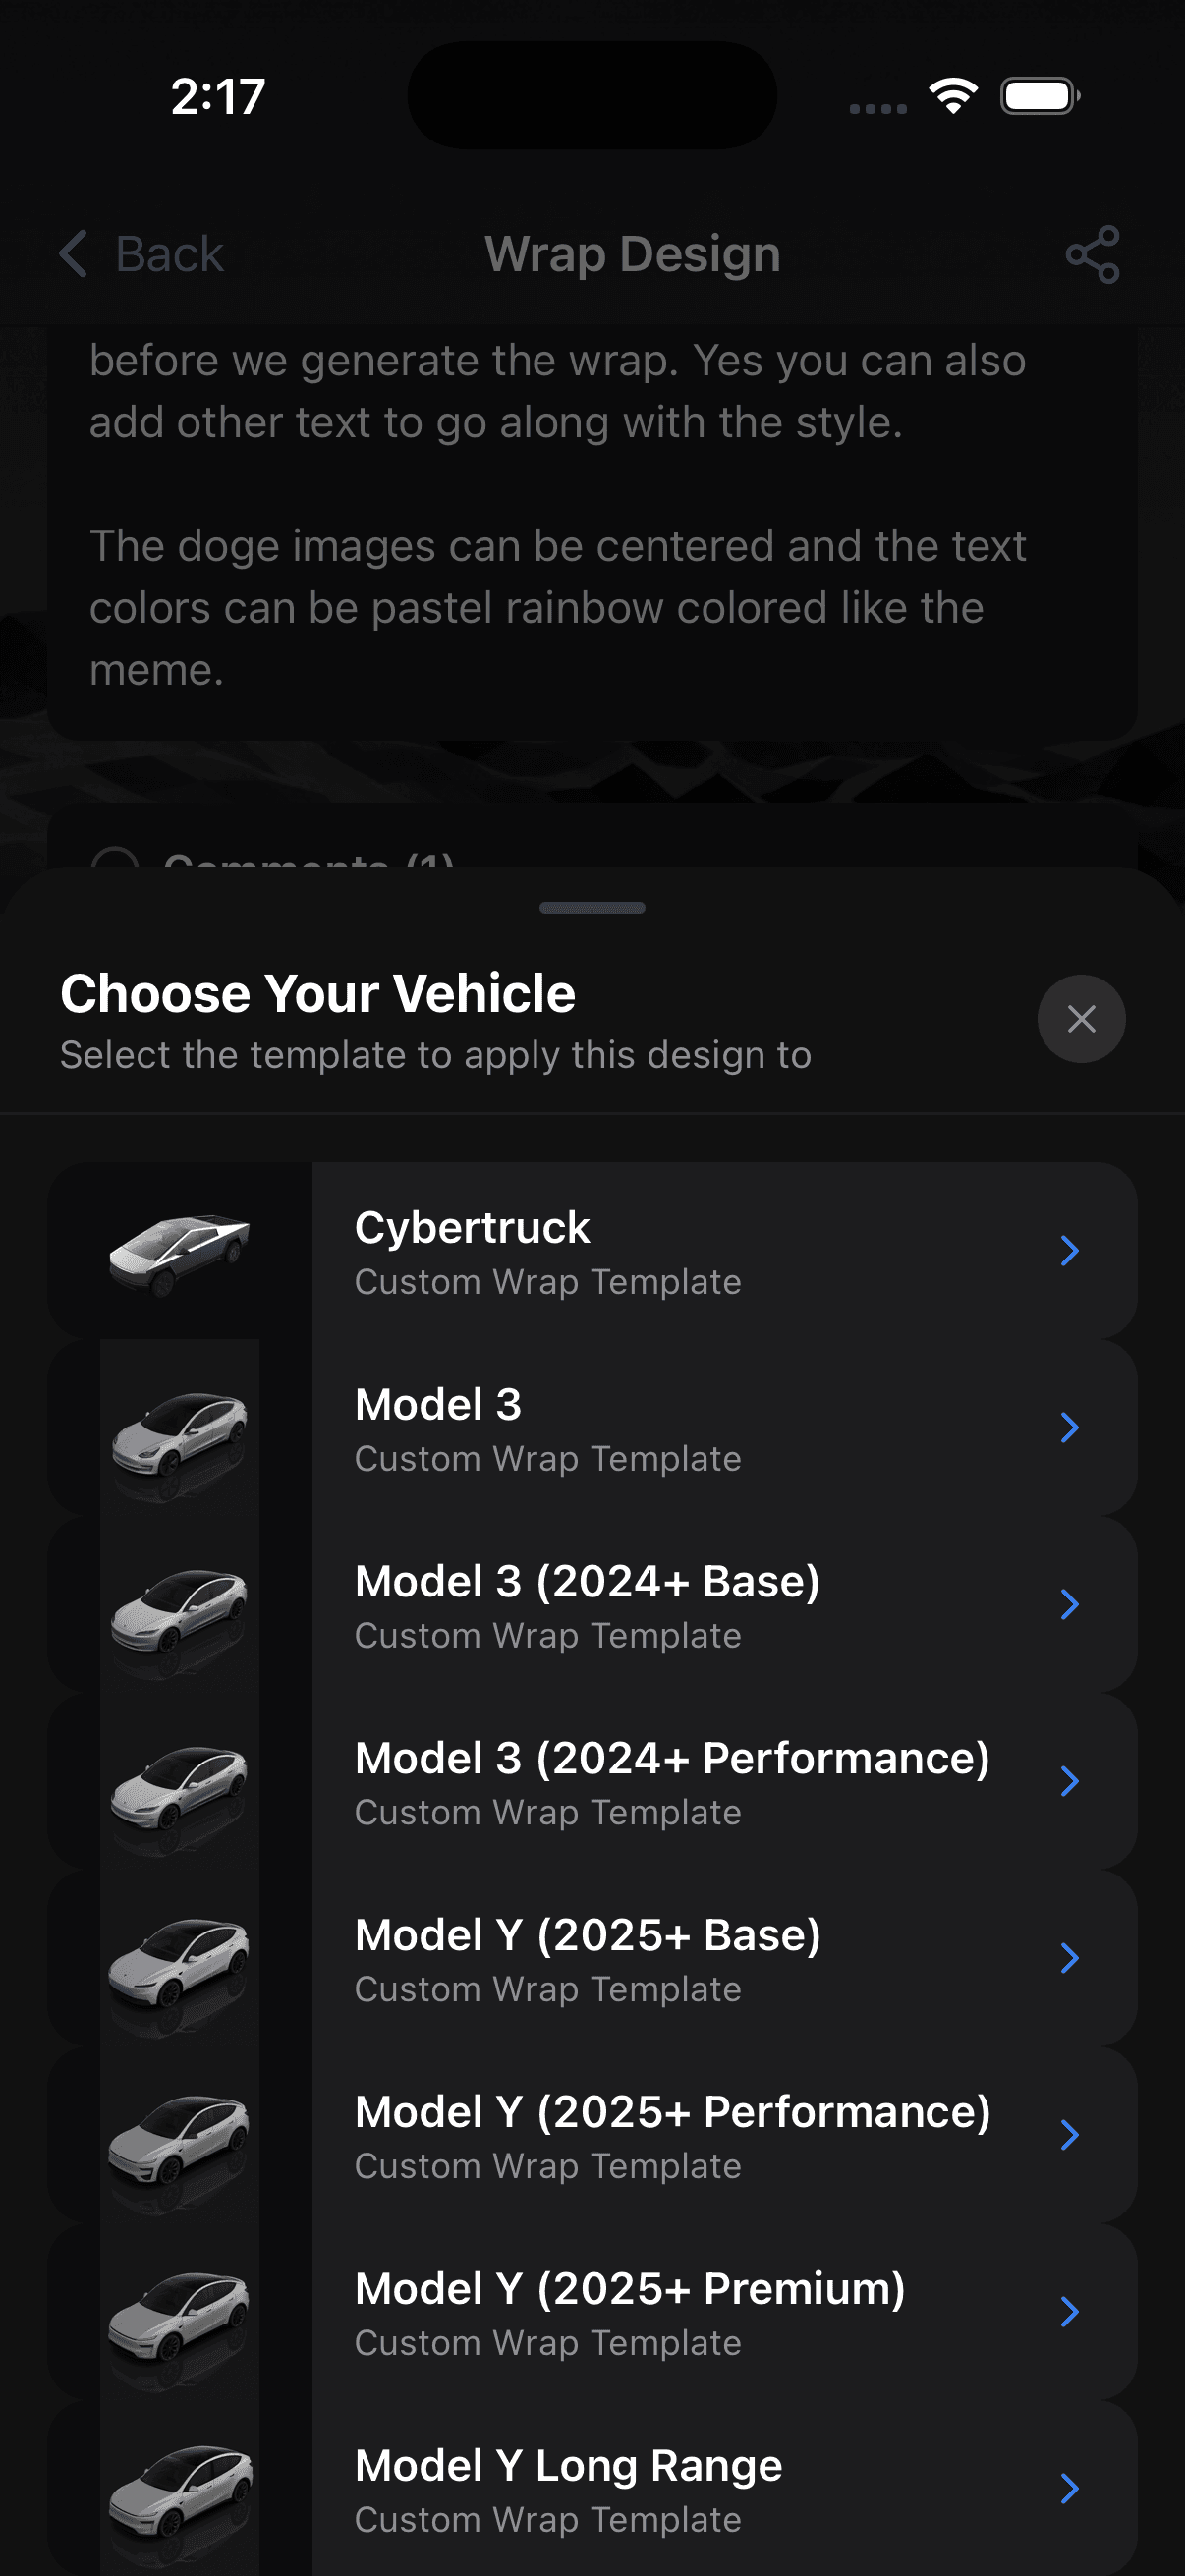
If the picker offers separate entries for the refreshed car, a standard versus premium trim, or a long-wheelbase variant, choose the exact one. Not the one that looks closest. Not the one with the most designs available. The exact one.
Picking the nearest-looking option is the most common reason a finished design looks subtly, unplaceably off. Nothing is obviously broken; the proportions are just slightly wrong everywhere, and it is very hard to diagnose after the fact.
Check the model year on your own vehicle rather than going from memory, because the changeover happened mid-cycle and plenty of people are not certain which side of it their car falls on. The Model Y wrap page is the place to start from once you know.
Designing around the light bar
The new front lighting is the change that most affects what looks good, and it is worth designing around rather than fighting.
Gradients that start too far forward now read as two halves. A fade that used to begin at the nose and travel back gets interrupted by a bright horizontal line before it has established itself. The result looks like two decisions rather than one.
The fix is simple: start the transition behind the front wheel. Let the nose be a single solid colour, and begin the interesting part of the design where the body is uninterrupted. This reads as deliberate, and it is how a lot of factory two-tone treatments are laid out for exactly this reason.
Horizontal liveries now have a competing horizontal line. If your design has a stripe or a split running front to back, it will be visually compared to the light bar. Either align with it intentionally or keep clearly away from its height. Landing slightly off it is the worst of the three options.
Dark front treatments work well. A darker nose blending into a lighter body makes the light bar read as an intentional element of the design rather than an interruption. This is one of the better-looking approaches on the refreshed car.
Vertical and diagonal elements are unaffected. If your design's energy runs across the body rather than along it, none of this applies to you.
Coverage questions to ask your installer
Because the bumpers changed, the standard coverage on this body is worth confirming rather than assuming.
- How far around the new front bumper does the film go, and where does it terminate?
- Is the area immediately around the light bar wrapped, and how is that edge finished?
- Are the lighting elements masked or removed?
- What happens at the new lower trim edges?
These are the places where a cheap quote and a thorough quote diverge on this specific vehicle. The general list of what to ask is in our guide on handing a wrap design to an installer.
Cost is broadly unchanged
Same body class, broadly the same surface area, same film. Expect the range our cost guide lists for a crossover of this size rather than a premium for the newer car.
Where you might pay slightly more is at a shop that has not done many of the refreshed body yet and is pricing in unfamiliarity, or one that removes the new lighting hardware rather than masking it. Both are reasonable; just ask which you are paying for.
If the full-wrap number is more than you want to spend, the same logic about the nose applies at a fraction of the price. A gloss black roof and a chrome delete change the proportions of this body considerably, and neither is affected by the lighting changes at all.
Living with it afterwards
Nothing about the refresh changes wrap care or lifespan. The horizontal panels — roof and hood — still age faster than the doors, and the wash routine still decides most of it. Those are covered in how long a car wrap lasts and how to wash a wrapped car.
See it on the right template
The whole point of this page is that the template matters. The fastest way to prove it to yourself is to generate the same design idea on the correct variant and look at what happens across the nose.
Open the design studio, pick your exact model and year, and try a couple of finishes. Or get the iOS app and do it while you are looking at the car, which is also the easiest way to confirm which version you actually have.