Short answer: a wrap visualizer takes a flat image, maps it onto a 3D model of your car using a UV template, and shows you the result. Understanding that one step is the difference between designs that land where you meant them to and designs that come out stretched, cropped or upside down.
Most people treat a visualizer as a magic box. It is not, and the mechanism is simple enough to hold in your head — which is useful, because once you understand it you stop fighting it.
A car body, flattened
Imagine peeling an orange in one piece and pressing the peel flat on a table. The shape you get is nothing like a sphere. It has splits where the curvature was too great, and the pieces that came from the top and bottom are distorted compared to the pieces from the middle.
That is a UV template. A car body is cut apart along its seams — door shuts, panel gaps, the underside of the arches — and every surface is flattened onto one rectangular image. Every region of that flat image corresponds to a specific area of the real body.
The name is unglamorous: "UV" simply refers to the two axes of that flat image, called U and V so they are not confused with the X, Y and Z of the 3D model. That is the entire etymology.
When a visualizer shows you a design on a car, it is looking up, for every point on the 3D surface, which pixel of the flat image belongs there. Paint a red stripe across the correct band of the flat template and a red stripe appears around the car. Paint it in the wrong band and it appears across the roof, or inside a wheel arch where nobody will ever see it.
Why designs come out stretched
Flattening a curved surface always distorts it. This is not a limitation of any particular tool, it is geometry — it is the same reason every world map lies about the size of Greenland.
The practical consequence is that area on the template does not equal area on the car. Regions with tight curvature — the nose, wheel arches, mirror housings, the transition from roof to rear glass — occupy proportionally less space on the flat template than they do on the real body. Artwork placed there gets stretched when it is mapped back.
The rule that follows is simple: keep the detail you care about on large, flat regions. Doors, the roof, the sides of the bed on a truck, the big slab of a rear quarter. Put a logo on a door and it stays a logo. Put the same logo across a wheel arch and it becomes a smear.
Angular bodies are much kinder here, because flat panels flatten without distortion. It is one reason graphic, high-contrast designs work so well on them — see the finishes on the Cybertruck wrap page for what that looks like in practice.
Why 3D preview matters
A flat template and a 3D preview use exactly the same UV mapping. The 3D view is not more accurate. It is more useful, because it shows you the consequences of the mapping in a form your eyes can judge.
Things you cannot see on a flat template and cannot miss in 3D:
- A gradient that runs beautifully across the template but reverses direction as it crosses the roof line
- A logo positioned perfectly in the flat image that lands directly on a door seam
- A two-tone split that looks level on the template and slopes visibly on the real body line
- A pattern whose scale looks right flat and reads as either wallpaper or confetti on the car
This is also why rotating the model matters more than it sounds like it should. Cars are seen in the round. A design that is perfect in three-quarter view and incoherent from directly behind is a design you will regret, and you will only find that out by turning it. You can try this on any model in the 3D visualizer.
Why you cannot reuse a file between models
Every model has its own UV layout, because every model has a different body. The band of the template that is a door on one car is a rear quarter on another.
So a design file exported for one vehicle does not "roughly fit" a different one. It maps into nonsense — recognisable colours in unrecognisable places. There is no conversion; the correct move is to regenerate the design against the right template.
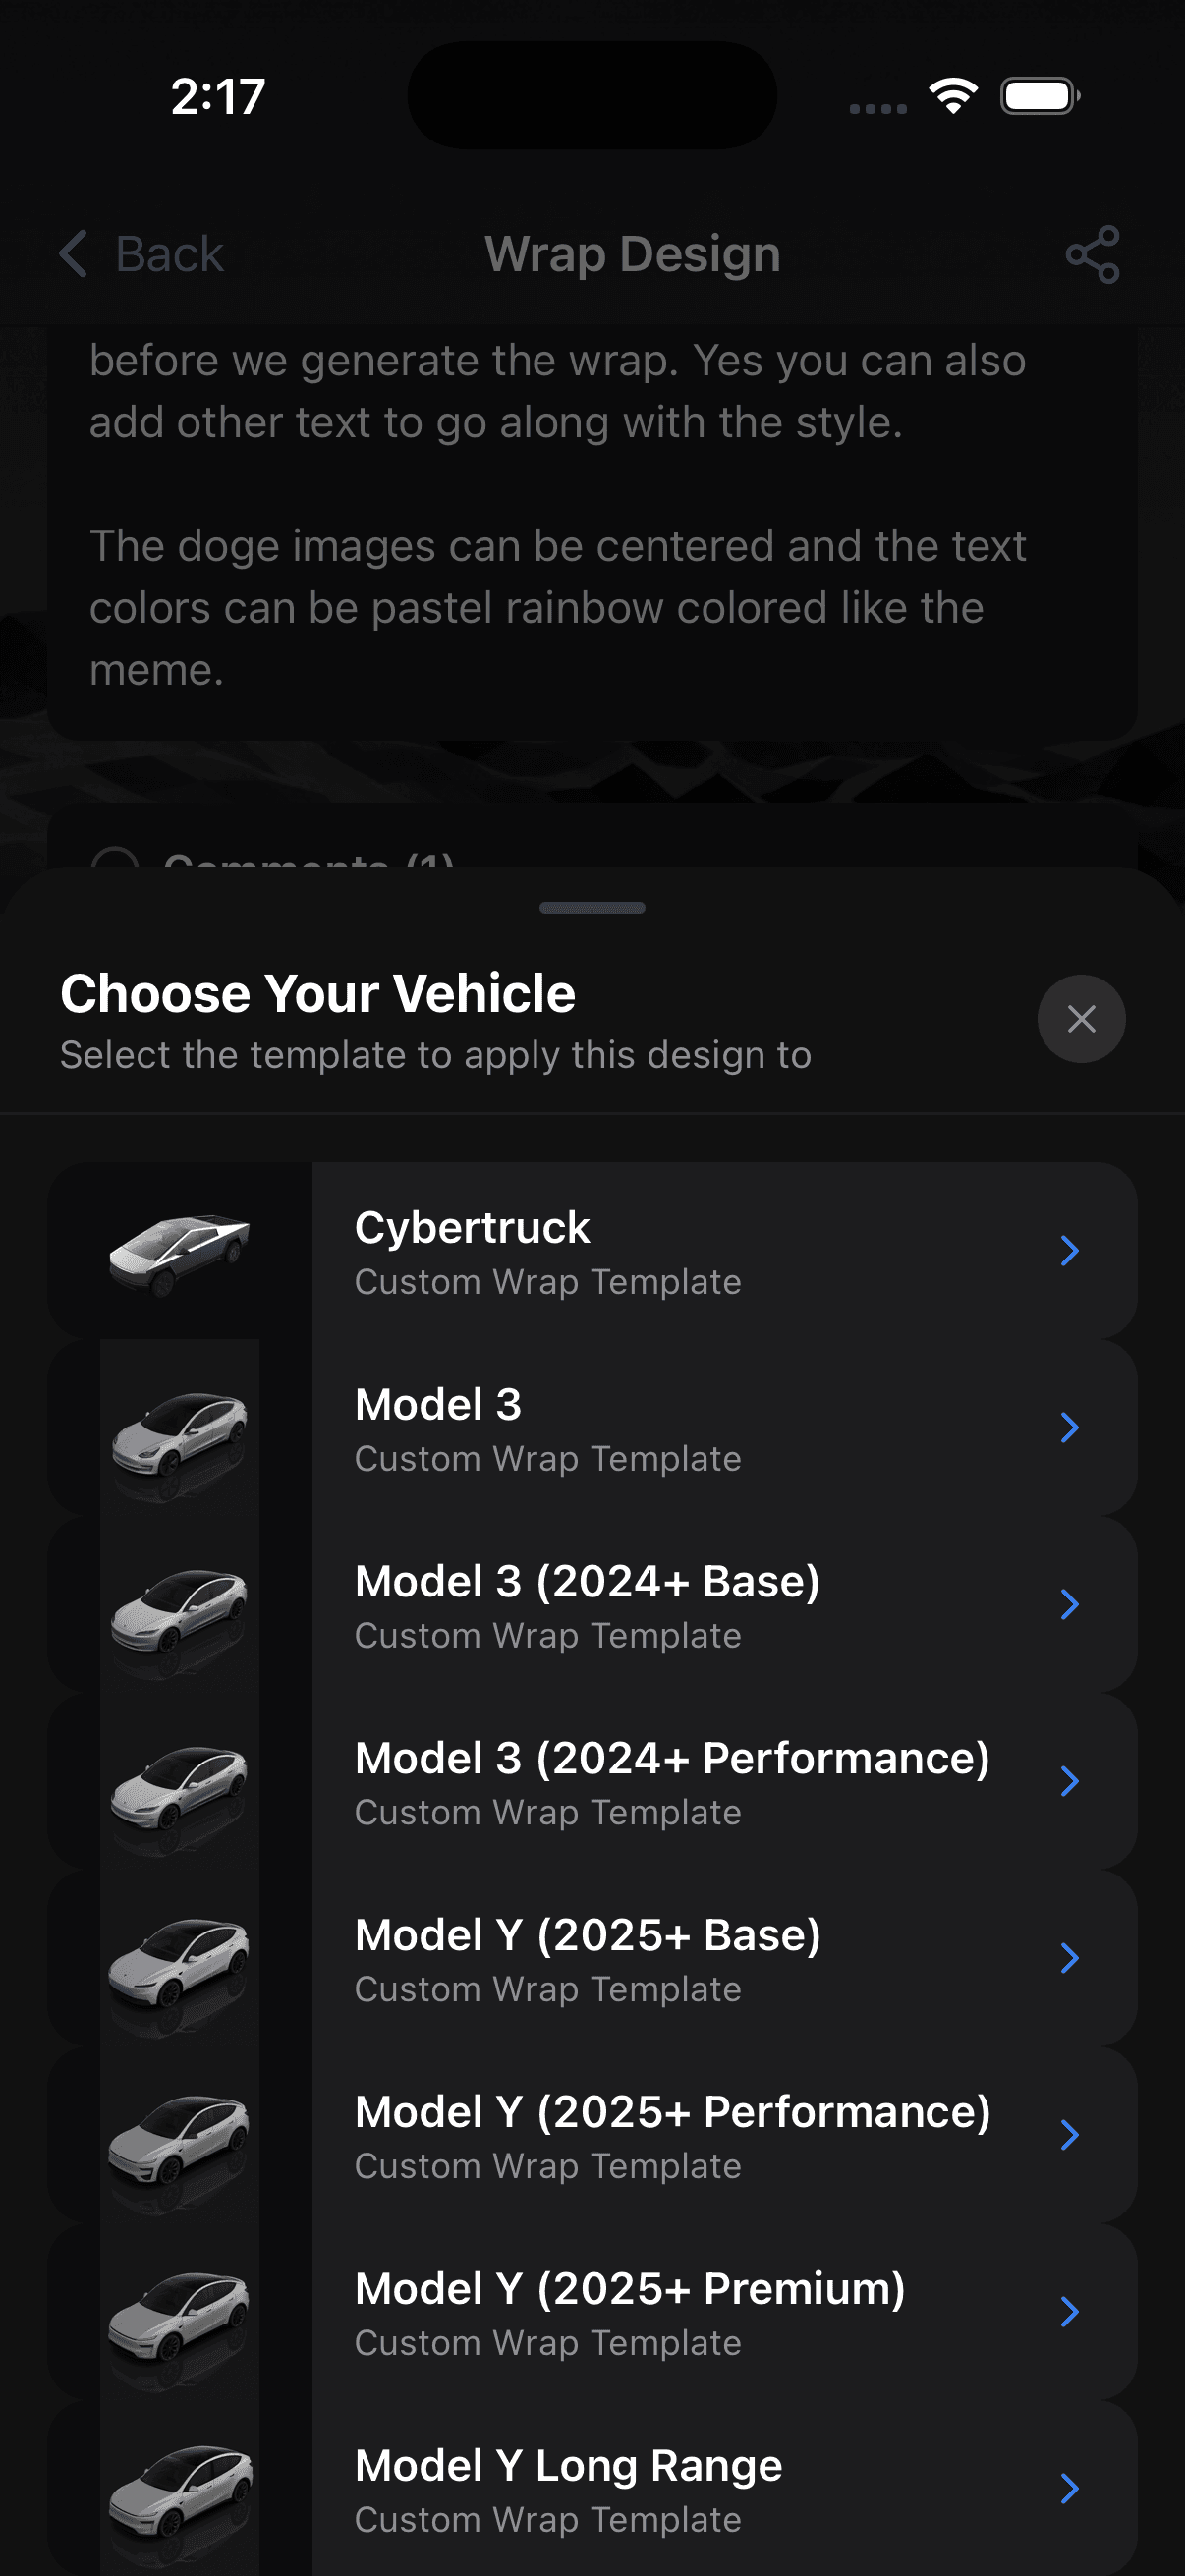
This catches people out most often within a single nameplate, where two model years look similar and are not. A refreshed body with new bumpers and new lighting is a genuinely different template, and picking the nearest-looking option in a picker is the most common cause of a design that is subtly, maddeningly wrong. Our guide to the 2025 Model Y refresh covers exactly that trap, and the Model Y wrap page has the variants laid out.
Where the AI fits
When you describe a wrap in words, the model is not painting a picture of a car. It is generating the flat template image — the thing that gets mapped.
That distinction explains behaviour that otherwise looks strange. It is why describing the car in your prompt is wasted effort: the car is already decided by the template you selected, and those words do not help. It is why asking for "a dragon on the side" gives less reliable results than asking for a specific finish and layout: a coherent object has to survive being cut apart and reassembled around a three-dimensional shape, and a finish does not care.
It is also why generated designs tend to look best when they are about the surface rather than about a picture — colour, texture, gradient, livery geometry. We wrote up the patterns that consistently work in wrap prompts that actually work.
What the visualizer cannot tell you
Worth being straight about the limits.
Colour is approximate. Your screen emits light; vinyl reflects it. Deep blacks, bright neons and anything metallic will differ. A preview tells you whether a design works. It does not tell you the exact shade you will receive from a printer.
Chrome and colour-shift are simulated. Those looks come from specialist manufactured films, not from printed ink. A render can show you the idea of liquid chrome, and a printer cannot reproduce it — that finish means buying that film. Our guide on handing a design to an installer covers which effects survive printing and which do not.
Panel breaks are the installer's problem, not yours. A shop cuts and applies film panel by panel using their own plotter files. Your design communicates intent and colour placement; their layout is theirs.
A render will not catch a bad install. Nothing on a screen tells you whether the edges will be tucked properly. That is what looking at a shop's previous work is for.
Try it on your own car
The fastest way to understand all of this is to watch a design map onto a body. Generate something on your exact model, rotate it, and notice which parts of the design ended up where you expected and which did not.
Open the design studio and try one, or get the iOS app and preview it standing next to the car.