Short answer: bring the highest-resolution export you have, a rendered preview of the design on the car, and a short written note about what matters to you. Then let the shop re-lay it onto their own panel templates, because their plotter and their print bleed are theirs, not yours.
Wrap shops turn away good designs every week, and almost never because the design was bad. It is because the design arrived in a form they could not use, or with expectations attached that printed vinyl cannot meet. Both are avoidable in about ten minutes of preparation.
What to actually send
Three things, in one email.
1. The design file at the highest resolution you have. Do not downsample it to be polite. A printer would far rather throw away pixels than invent them, and film is printed at a size where softness is visible from two metres away.
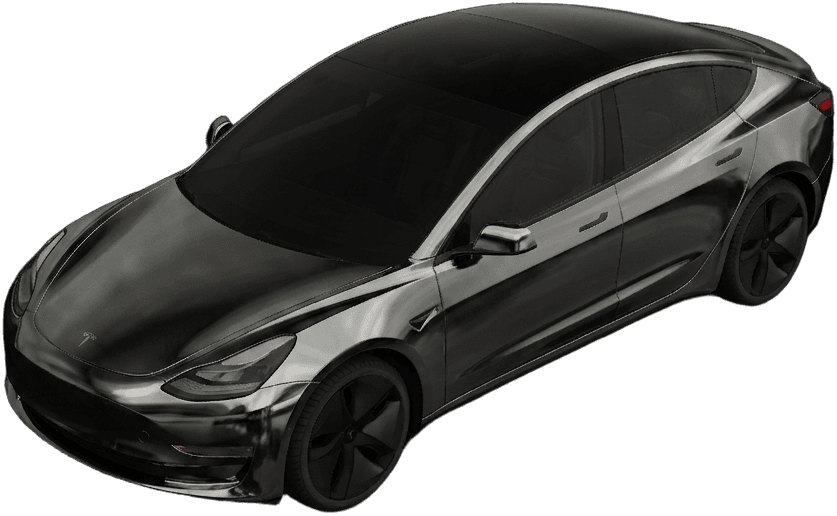
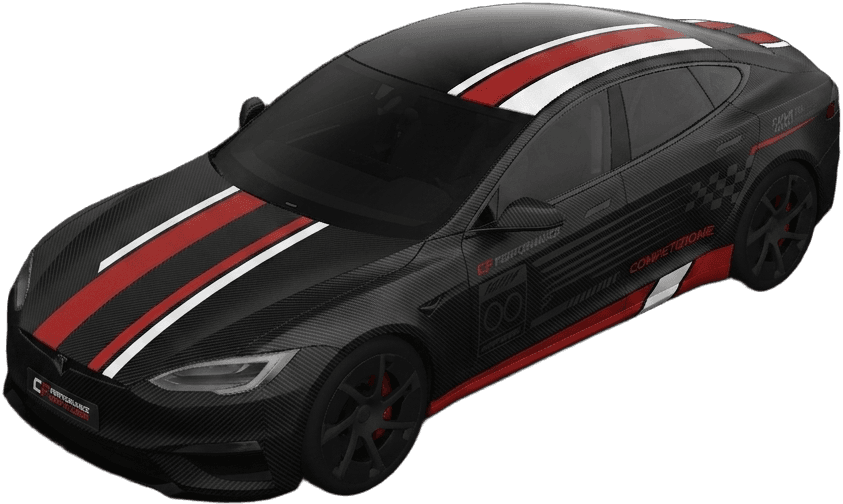
2. A rendered preview on the vehicle. This is the one people skip and the one shops value most. A flat design file tells a printer what the colours are. A render tells them what you were trying to do — where the gradient should start, which panel the accent belongs to, what the car is meant to look like when it is finished. If you generated the design on a template of your model, you already have this; if you want to see how that mapping works, our visualizer guide explains it.
3. A short note of intent. Three or four lines. Which element matters most, what you are flexible on, and anything you specifically do not want changed. "The fade must reach the rear arch before it goes dark, everything else is negotiable" saves a round trip.
Send it once, with everything attached. A design that arrives in four messages over two days gets handled in four separate sittings.
Why they will re-lay it out
Expect the shop to take your artwork and rebuild the layout on their own templates. This is normal and it is not a criticism of your file.
They are doing it because print bleed, panel splits and material width are specific to their printer, their plotter and the roll they have in stock. Their templates account for how much film needs to extend past each panel edge so it can be tucked, and for where they will split a large surface across two pieces of material. Those decisions belong to the people doing the installation.
What this means for you: your file communicates design, not manufacturing. Do not spend hours trying to produce a production-ready layout. Spend that effort on making the design unambiguous.
Colour: set expectations before the print run
This is the single biggest cause of disappointment, and it is entirely preventable.
Your screen emits light. Printed vinyl reflects it. That difference is largest exactly where people care most:
- Deep blacks print as very dark grey, not as the void your screen shows.
- Bright neons and saturated blues sit outside what most print processes can reproduce, and come back duller.
- Metallics and pearls do not exist in ink. A metallic look comes from a metallic film, not from a printed layer.
Ask for a printed sample of your key colour before the full run. A good shop offers this without being asked; if you have to ask, ask anyway. It costs a small amount of film and it is the only way to see your colour in the material it will actually be.
Effects that printing cannot reproduce
Worth knowing before you fall in love with a render.
| Effect | Printed? | How you actually get it |
|---|---|---|
| Solid colour, gradients, patterns | Yes | Printed and laminated |
| Photographic imagery, liveries, logos | Yes | Printed and laminated |
| Matte, satin or gloss surface | Yes | Choice of laminate |
| Chrome / mirror | No | Specialist chrome film |
| Colour-shift / iridescent | No | Specialist colour-shift film |
| Brushed or forged carbon texture | No | Textured film |
If your design depends on one of the bottom three, you are buying that film and having graphics printed over or alongside it. That is a different quote and sometimes a different shop, so raise it early. Our cost guide covers where specialist films sit relative to standard colour change.
Five questions to ask before they cut anything
- Which film and laminate are you using? You want the specific product, not "premium vinyl". Then ask to see its data sheet — it tells you the rated durability for vertical versus horizontal panels, which is the honest answer to how long it will last. Our guide on wrap lifespan explains why that distinction matters so much.
- What is included in the coverage? Door jambs, under the hood lip, inside the trunk shuts, behind the mirrors. Full wraps vary enormously in how far into the edges they go, and that is most of the difference between two quotes.
- Will you remove hardware or wrap around it? Removing handles, badges and lights gives much better edges and costs more hours. Both are legitimate; you just need to know which you are buying.
- How long will you need the car? Printing, laminating, prep, installation and cure time all sit between your file and a finished car. Expect days rather than an afternoon for a full wrap.
- What does removal look like, and what would it cost? Ask now, while you are a prospective customer. It tells you whether they think about the whole life of the job.
Prepare the car, not just the file
Film follows the surface underneath it. Anything the paint is doing, the wrap will do too, only shinier or flatter.
Fix chips, dents and lifting clear coat before wrapping, not after. Wrapping over failing clear coat is the classic expensive mistake, because the film bonds to the clear coat and takes it with it on removal. If the car has had bodywork, say so — fresh paint needs time to fully outgas before it is wrapped, and your shop will have a view on how long.
If your car has an unpainted body, the preparation is different again and worth reading up on separately: see wrapping stainless steel.
Show up with the car clean. Not detailed, just clean. It is a small courtesy that makes the initial inspection faster and more honest.
Get the design right first
The least expensive part of this whole process is deciding what you want. Walking into a shop with a specific, rendered design on your exact model changes the conversation completely: you are approving a plan instead of describing a feeling, and the shop is quoting a known job instead of an open one.
That is worth doing whether your car is a Model 3, a Model Y or something larger.
Generate your design on a template of your exact model in the design studio, export it at full resolution, and take both the file and the render to your shop. Or get the iOS app and do the whole thing from your phone before the appointment.