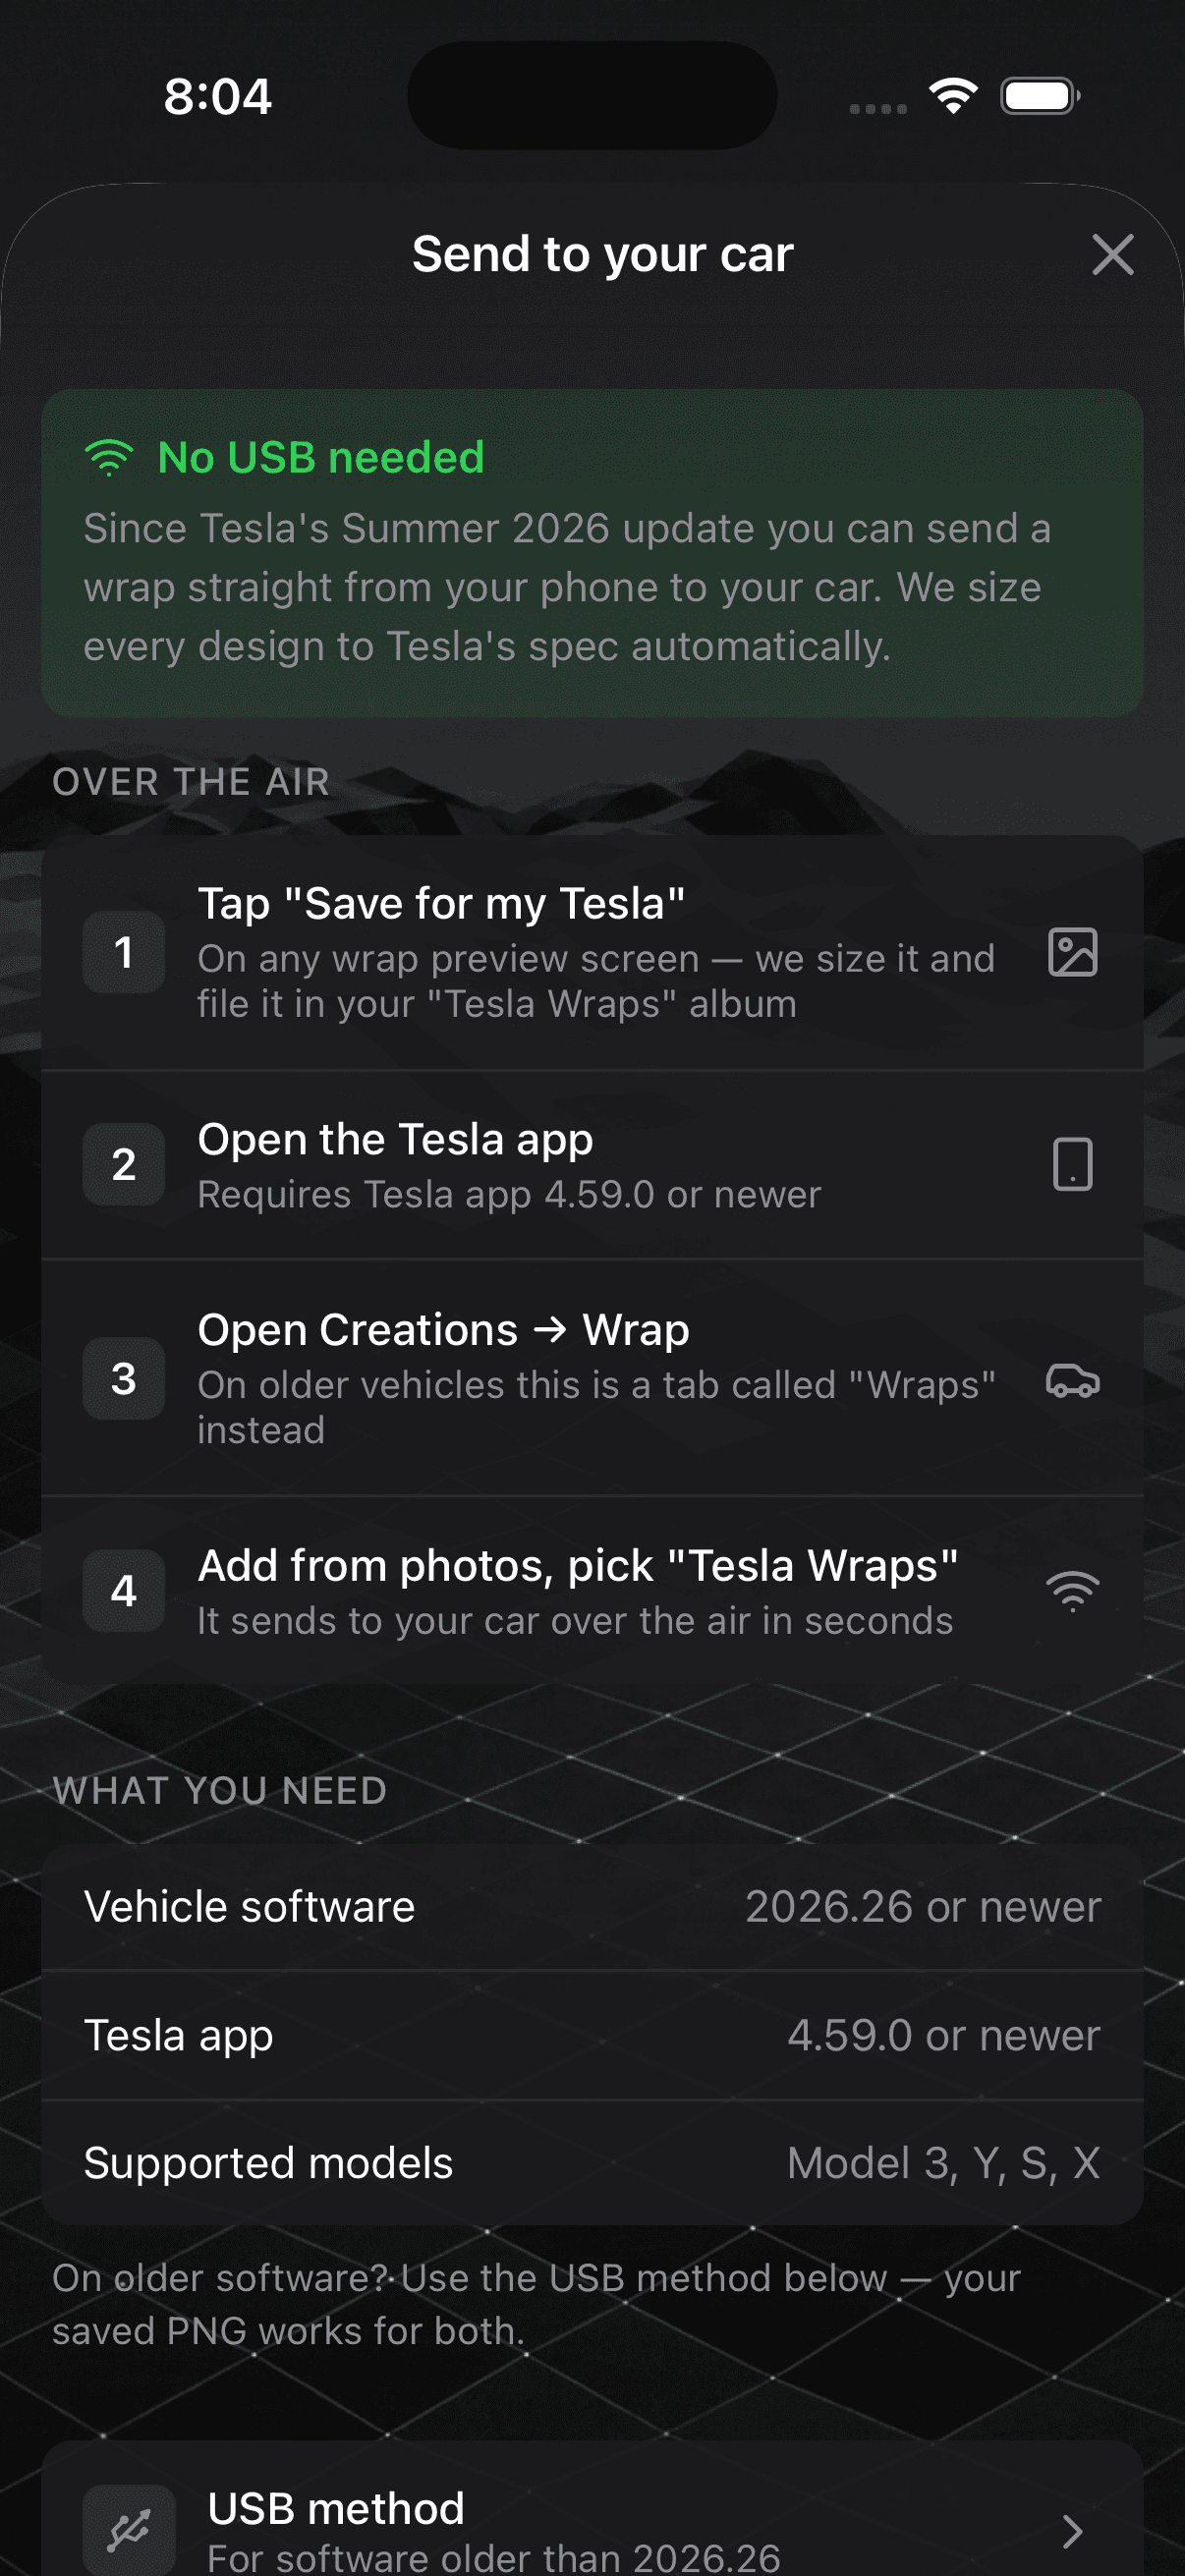
Short answer: export your design as a transparent PNG laid out on your vehicle's wrap template, keep it under the size limit (under 1 MB is safe), put it on a USB drive, and load it from Toybox → Paint Shop on the car's touchscreen. Your Tesla then renders itself in your design — on the screen and in the app — before any vinyl exists.
Here's the full walkthrough, including the mistakes that make uploads silently fail.
What Paint Shop's custom wraps actually do
Paint Shop is the in-car feature that re-skins how your Tesla draws itself on the touchscreen. The custom-wrap option (introduced with the Cybertruck and expanding to more models with newer software) lets you replace the stock colors with your own image file — so the car on your screen wears your design everywhere the vehicle is rendered.
Two things it doesn't do, to set expectations:
- It doesn't change the physical car. For that, you export the same file and take it to a vinyl installer.
- It isn't a general image viewer. The file has to be mapped to the car's wrap template — a flattened layout of the body panels — or panels will land in the wrong places.
Step 1: Get a template-mapped design
This is the step people skip, and it's why most DIY attempts look scrambled. The PNG isn't a photo of a car — it's a texture that the car's 3D model wraps around itself. Every panel has a fixed position in the layout.
You have two easy paths.
Option 1: Generate a template-mapped design
Describe a finish in the studio — the AI paints directly onto the correct template for your exact model, so the output is placement-ready by construction.
Option 2: Download one from the gallery
Grab a design another owner already made from the community gallery — every download is the full template-mapped file.
Step 2: Check the file spec
Before it goes near the car, confirm:
| Requirement | Spec |
|---|---|
| Format | PNG (transparency preserved) |
| Size | Under the limit — staying below 1 MB avoids every version's ceiling |
| Layout | Your model's wrap template (see step 1) |
| Filename | Simple, no special characters |
If your file is over the size limit, re-export at a slightly lower resolution rather than converting to JPEG — JPEG kills the transparency the renderer needs.
Step 3: Load it via USB
- Format a USB drive (FAT32 or exFAT both work; a small, older drive is fine).
- Copy the PNG to the drive — top level is simplest.
- Plug the drive into a data USB port (front console; the glovebox port also works on most cars).
- On the touchscreen: Toybox → Paint Shop, choose the custom/upload option, and select your file.
- Give it a moment to process — the car re-renders with your wrap.
When it doesn't work
No custom option appears in Paint Shop
Your model/software build doesn't have it yet. Check for a software update; the feature has been expanding by model and region.
The file isn't detected
Usually the port (use a data port, not a charge-only pad), the format (must be PNG), or a nested folder. Put it at the drive's root.
The design looks scrambled on the car
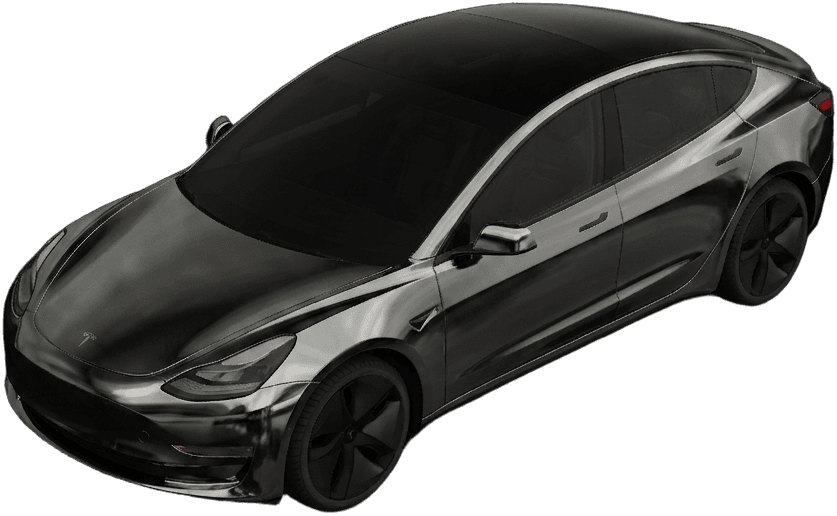
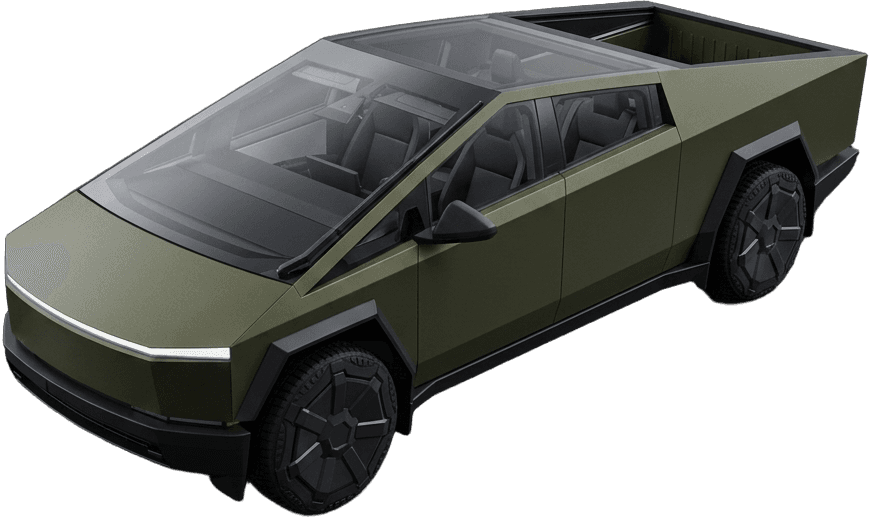
The image isn't template-mapped for your model. A Model 3 layout on a Cybertruck won't line up; regenerate on the correct template.
The upload is rejected
Almost always file size. Compress under 1 MB and retry.
From screen to street
The on-screen wrap is the world's cheapest full-scale mockup: you'll see the design on your actual car, in your driveway, at every angle the renderer draws. Live with it for a week. If you still love it, the same exported file is what a professional installer works from — see what the physical wrap will cost by model.
And if you're still hunting for the right look, start with the wrap ideas hub or steal inspiration from what other owners have designed.