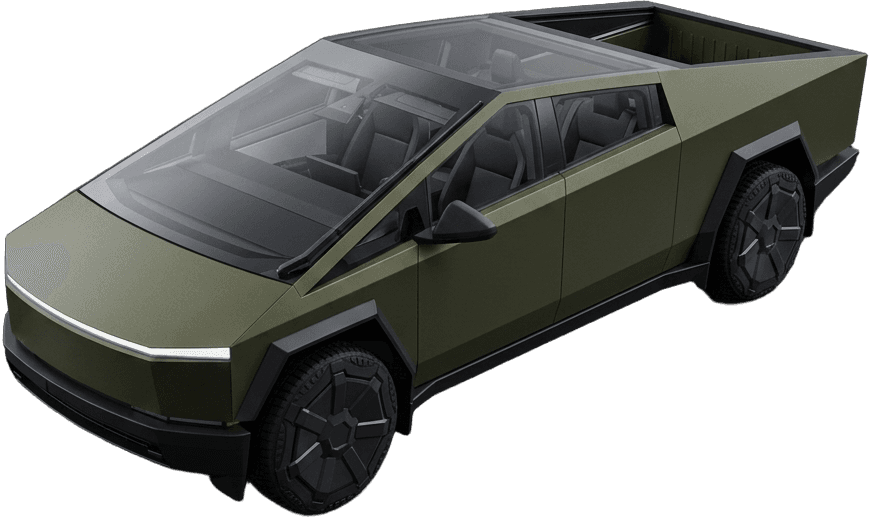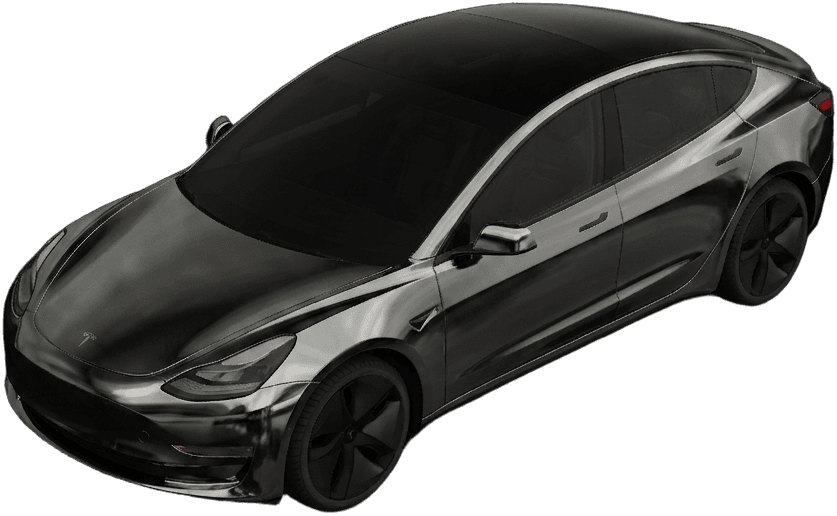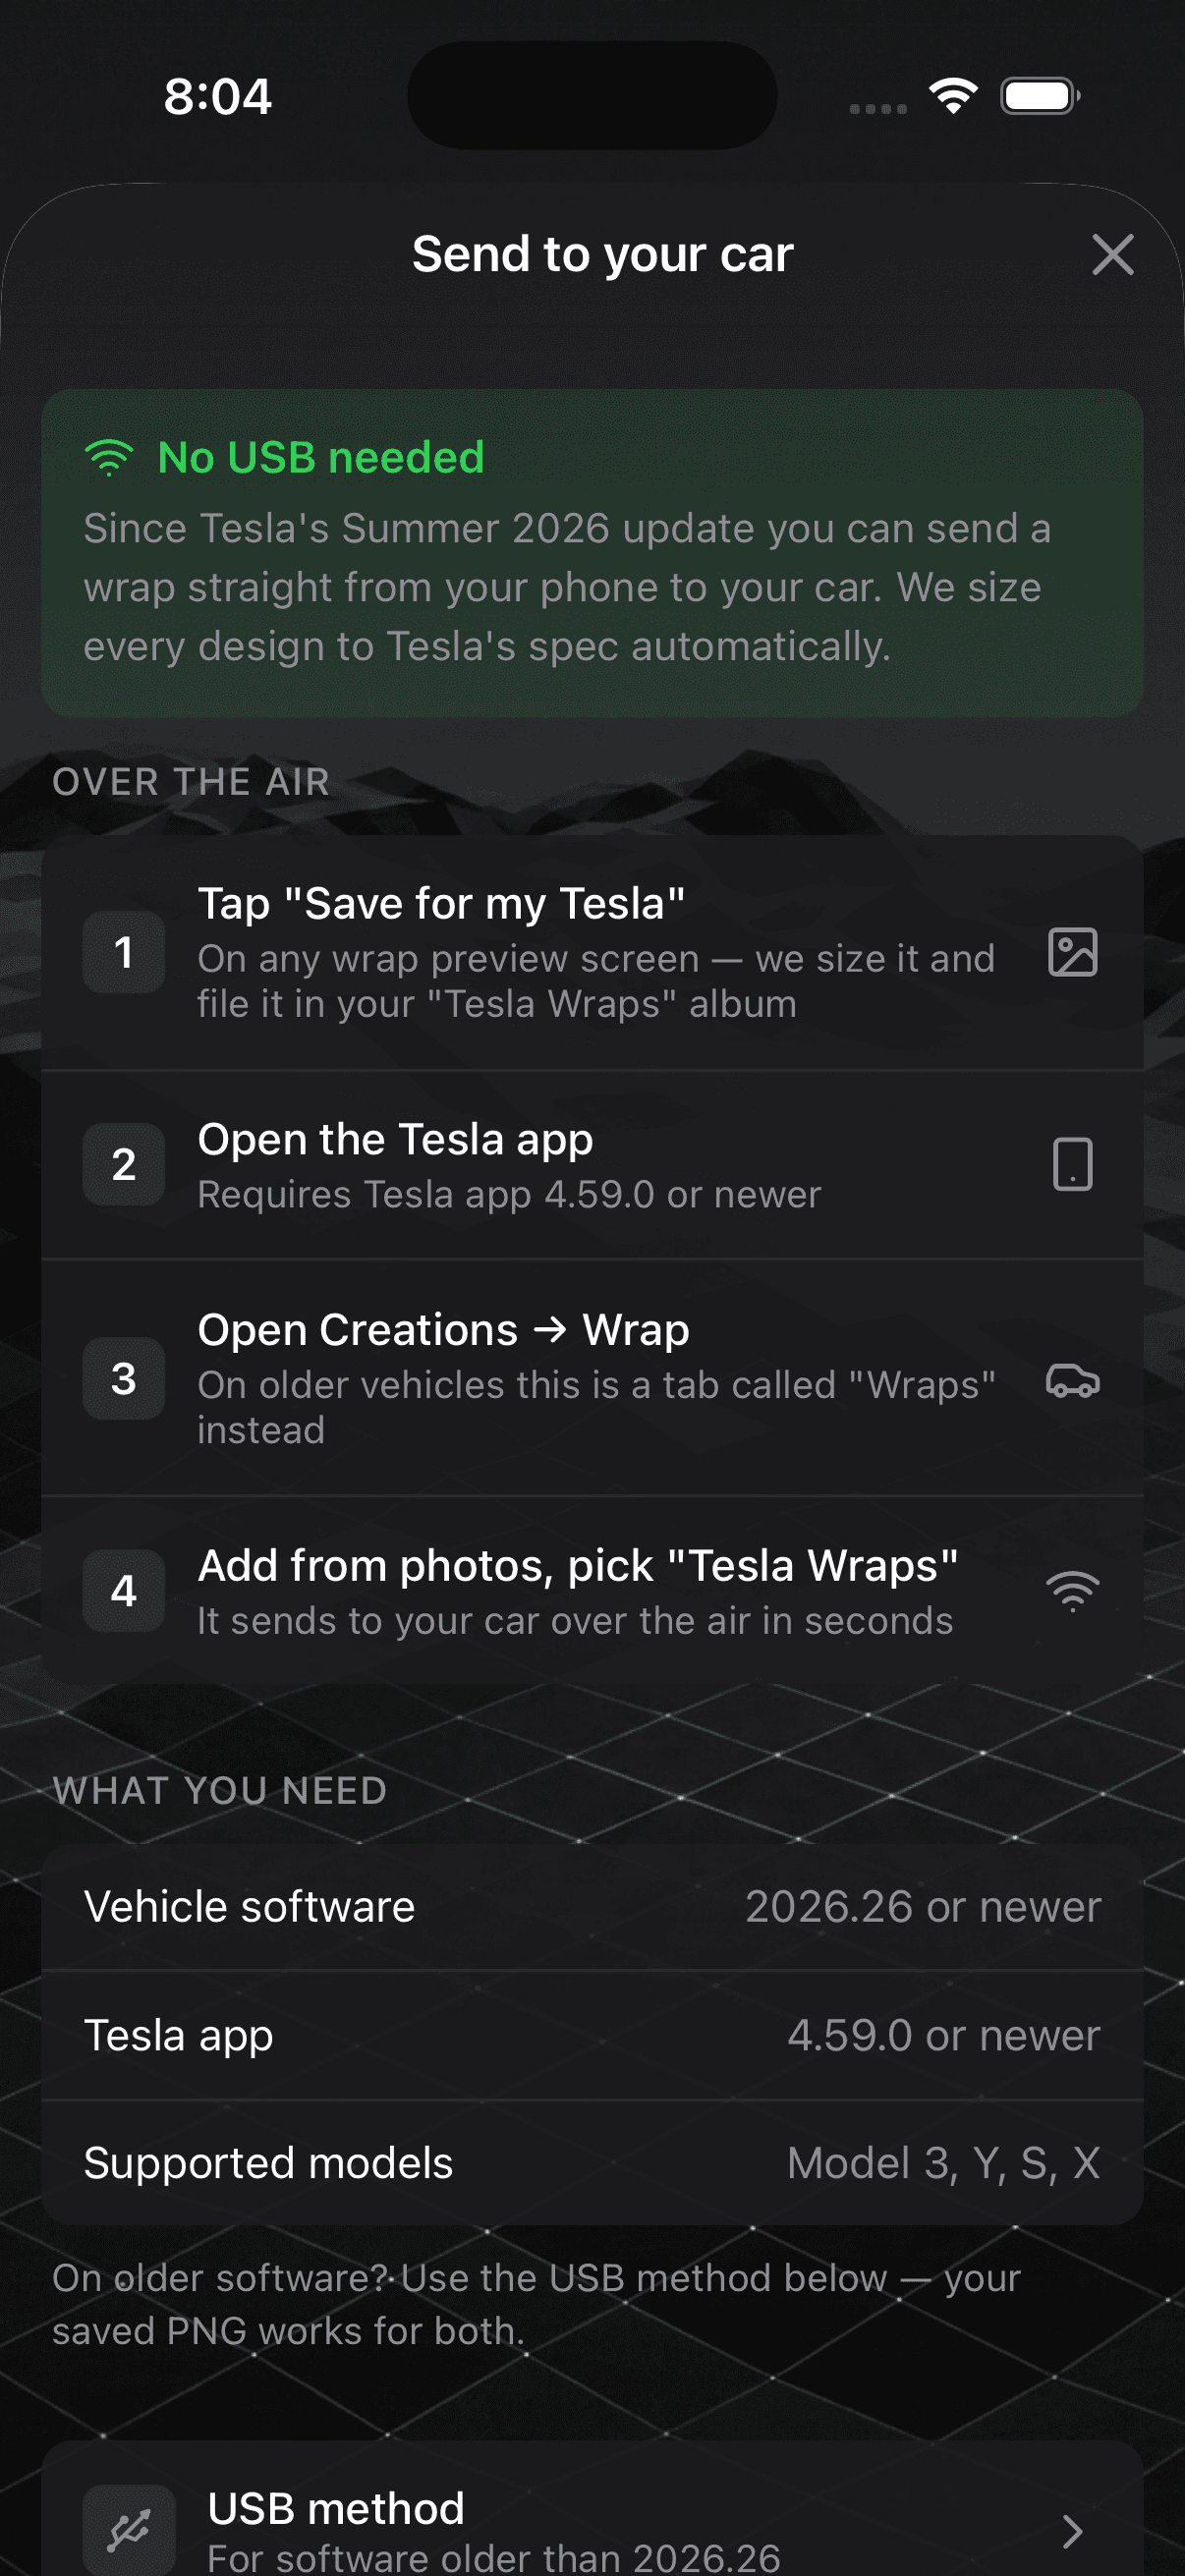
Short answer: on vehicle software 2026.26 or newer, with vehicle app 4.59.0 or newer, you pick a custom wrap from your phone's photo library inside the app and it's sent to the car over the air. No USB drive, no laptop, no glovebox. The file still has to be a PNG between 512×512 and 1024×1024, under 1 MB, with a short filename — that part didn't change.
Tesla announced it plainly: custom wraps via mobile app. Here's what actually changed, and the details that decide whether your upload works on the first try.
What changed
Until this update, adding a custom wrap meant a genuinely tedious errand:
- Pull the USB drive out of the glovebox
- Plug it into a computer
- Format it correctly, if it wasn't already
- Create a folder named
Wrapsat the root - Copy the PNG in
- Walk back out and plug the drive into the car
Six steps, one of which required a laptop. It's the reason most owners who wanted a custom wrap never got around to one.
The summer update collapses that to: pick the image on your phone, confirm. The car receives it over the air in seconds.
What did not change is the file spec. The car is just as strict about the image as it always was — it simply gets it by a different route.
The four steps
1. Get a template-mapped design
This is the step people skip, and it's why a first attempt often looks scrambled. The PNG isn't a picture of a car. It's a texture the car's 3D model wraps around itself, and every body panel has a fixed position in the layout.
Two reliable paths:
- Generate one. Describe a finish in the studio and the design is painted directly onto the correct template for your model, so it's placement-ready by construction.
- Download one. Take a design another owner already made from the community gallery.
2. Get the file to spec
| Requirement | Spec |
|---|---|
| Format | PNG |
| Dimensions | 512×512 to 1024×1024 pixels |
| File size | Under 1 MB |
| Filename | 30 characters max — letters, numbers, underscores, dashes, spaces |
Every wrap exported from WrapStudio AI is converted to meet all four automatically. If you're exporting from elsewhere, this table is where uploads go to die — see the failures section below.
3. Open the vehicle app
You need app version 4.59.0 or newer. Where you'll find it depends on the vehicle:
- Newer vehicles: open Creations, then the Wrap tab
- Older vehicles: a tab simply called Wraps
Worth knowing before you go hunting, because the two look nothing alike. On Intel-based cars this is notably the first feature to appear in the Creations menu at all.
Don't confuse this with the in-car path — on the touchscreen itself, wraps still live under Toybox → Paint Shop → Wraps. The phone app is where you upload; the car is where you apply.
4. Pick the image and send
Choose add from photos, pick the design, and confirm. It transfers over the air and appears on the car's screen within seconds.
If you use our app, tapping Save for my Tesla on any wrap preview files the design in a dedicated "Tesla Wraps" album first — so you're picking from a short list of wraps instead of scrolling a camera roll.
What you need
| Minimum | |
|---|---|
| Vehicle software | 2026.26 |
| Vehicle app | 4.59.0 |
| Models | Model 3, Model Y, Model S, Model X |
| Infotainment | AMD Ryzen and Intel Atom |
Both version numbers matter independently. An updated car with an outdated phone app won't show the option, and it's the more common of the two mistakes.
Why uploads fail
In rough order of frequency:
The image is too big. Most AI tools and design apps export at 2K or 4K by default. The ceiling is 1024×1024, and the file must come in under 1 MB. Re-export smaller rather than converting to JPEG — JPEG discards the transparency the renderer relies on.
The filename is too long. Thirty characters, and only letters, numbers, underscores, dashes and spaces. Auto-generated names with timestamps blow past that quietly — MyWrap_Export_2026-08-15T18-42-07.png is already 37.
It isn't template-mapped. A photo of a wrapped car will upload happily and then render as nonsense, because the car maps the image onto panels expecting a specific flattened layout.
The car is on older software. If you don't see the option, check the vehicle's software version before troubleshooting the file.
It changes the screen, not the paint
Worth restating, because it's the most common misunderstanding: custom wraps change how your car renders itself on the touchscreen and in the app. The physical paint is untouched.
That's genuinely useful on its own — but it's also the cheapest way to audition a design. Live with a finish on your screen for a week before committing several thousand dollars of vinyl to it. If you decide you want it for real, the same exported file is what an installer needs.
Still on older software?
The USB method works exactly as before, and the file you export is identical. Format the drive as exFAT, FAT 32, MS-DOS FAT, ext3 or ext4 — not NTFS — create a folder named Wraps at the root, drop the PNG in, and load it from Toybox → Paint Shop → Wraps. Keep map and firmware updates off that drive; they interfere with wrap loading.
The full walkthrough lives in the Paint Shop custom wrap guide.